Powerpoint is one of the more unfairly maligned tools in a lawyer’s arsenal.
Yes, presentations that rely on the default color schemes and fonts are probably not going to look good. And presentations that are too wordy or have long lists of bullet points are going to bore your audience. But, PowerPoint is still a powerful presentation tool when used well. Here are some of the best lessons I have learned in years of doing presentations for trial, arbitration, technical tutorials, class action certifications, Markman hearings, and all kinds of legal proceedings.
Power Up with Master Slides
The first step to working quickly and efficiently in PowerPoint is properly setting up master slides. I like to have a master slide layout for each slide type I expect to use in a presentation. For litigation purposes this would include a title slide, bullet slide, deposition Q&A, and single/double document treatments. (If you prefer, Nextpoint can create master slide templates and color palette for you.)
NOTE: To view and edit your master slides, click “Slide Master” on the View tab.
Anything you’d like to appear on ALL slides should be placed onto the top level master slide. Usually this will be your background color or image, slide title placeholder, footer placeholder and page number. Anything you’d like to appear on a specific slide type layout should be placed on the corresponding master layout slide. This may include text placeholders, image placeholders and/or accent boxes. Custom color palettes can also be created within Master View.
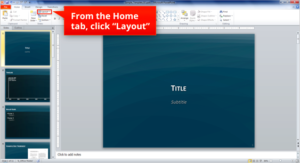
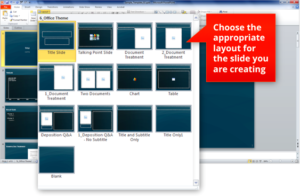
Once your master slide layouts are in place, exit Master View to return to slide edit mode. See the images below for instructions on how to use your layouts to start building slides.
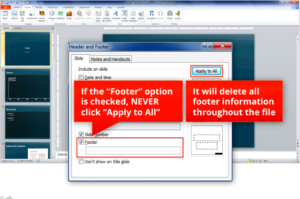
Be Careful When Editing Footers
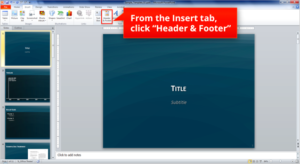
If the “Footer” option is checked, NEVER click “Apply to All.” It will delete all footer information throughout the file (see below).
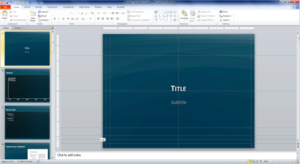
Use Guides to Keep Your Content in Line
1. Right click in the art board area to the side of the slide 2. Click “Grid and Guides” 3. Uncheck “Snap objects to grid” 4. Check “Display drawing guides on screen” (Gray guides will appear) 5. Click on a guide and hold down the Control key, drag to create new guides.
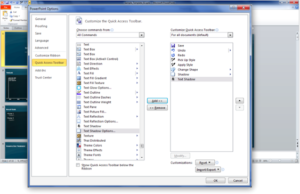
Use Custom Toolbars
1. Click on the down arrow at the top left of the screen to pull up the custom toolbar menu 2. Click “More Commands” 3. Choose “All Commands” from the drop down menu 4. Add some useful tools that aren’t available in the regular menus 5. “Pick Up Style” and “Apply Style” can be used to copy formatting from one object to another.
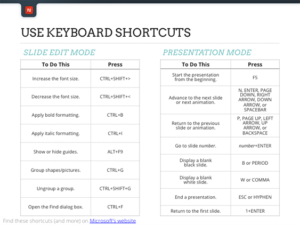
Use Keyboard Shortcuts
For our last power tip, I recommend that you simply right click the image to save this list. These shortcuts will come in handy no matter what you’re trying to do in Powerpoint. With a few simple steps, I guarantee that your next presentation will not only look better, but will keep your audience’s attention, and help you make any case.
